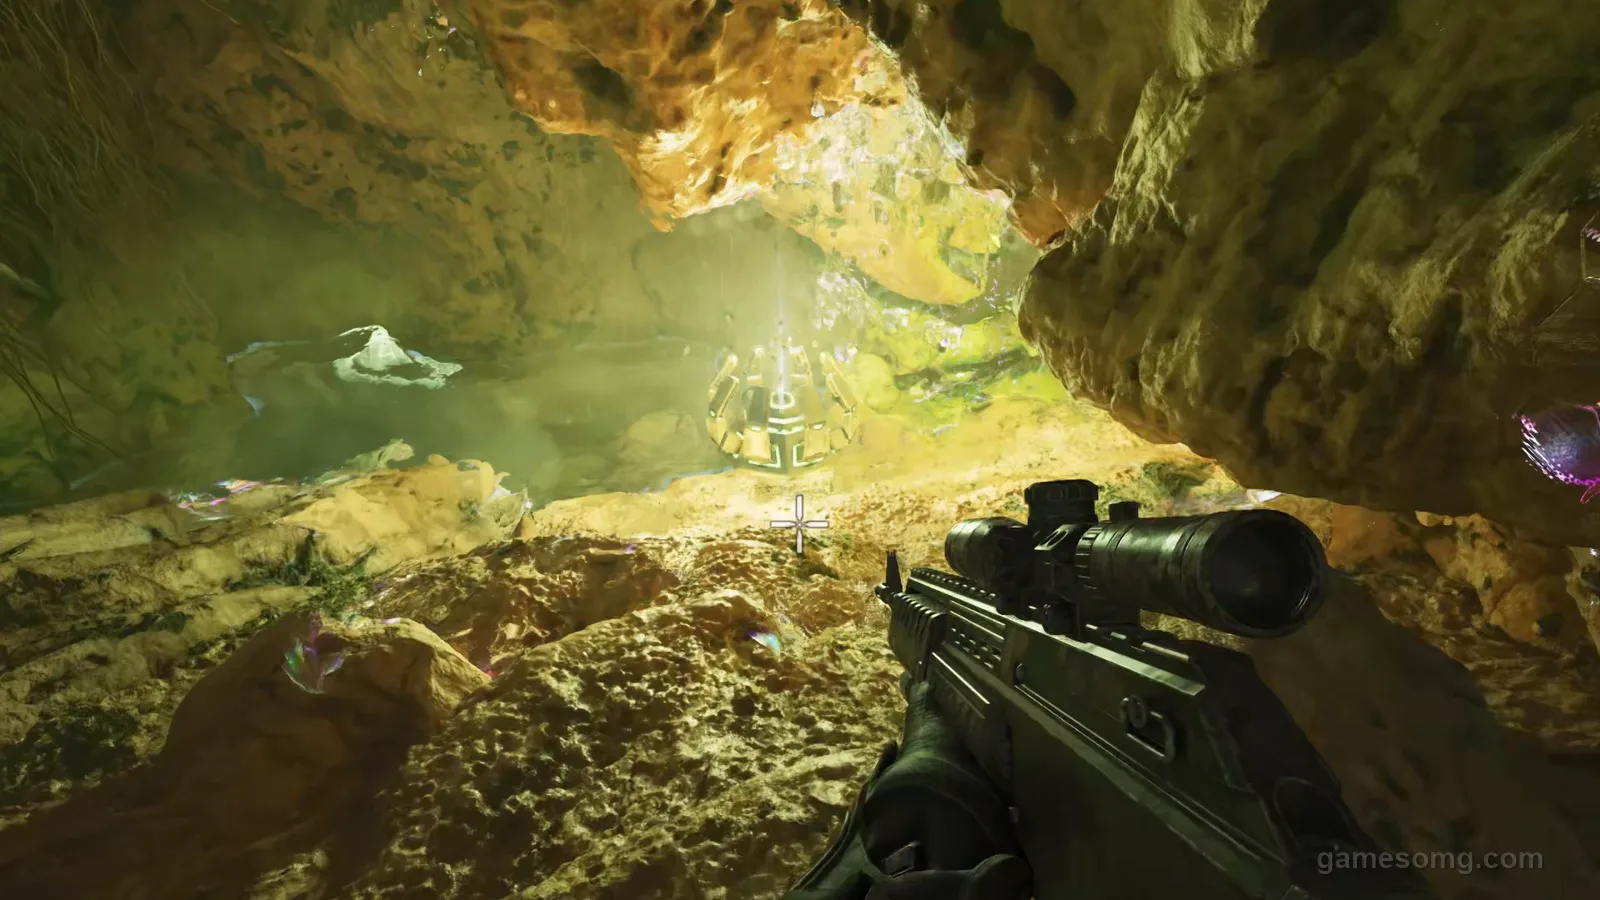
The Island has 22 caves total — 11 artifact caves (10 progression + the Tek Cave) and 12 underwater resource caves. Each one's mapped below with coordinates, the artifact inside, which boss it summons, difficulty rating, and the best dino to bring. No fluff, no wiki-hopping.
Last updated: May 2026Verified for: ARK: Survival Ascended (UE5 build)Coordinate format: Latitude, Longitude
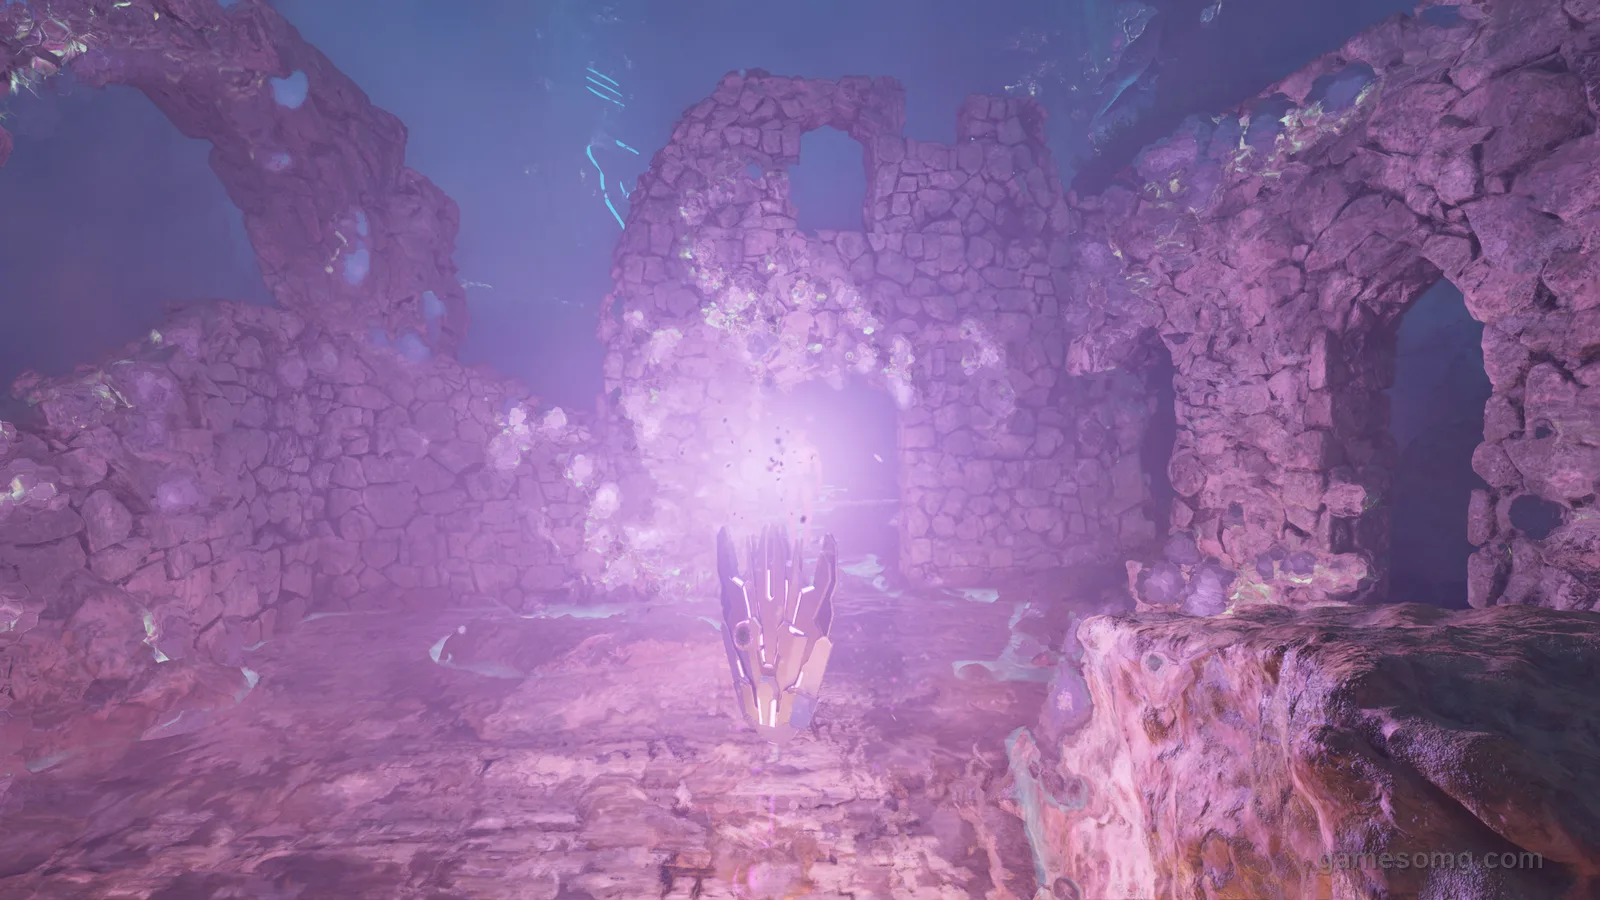
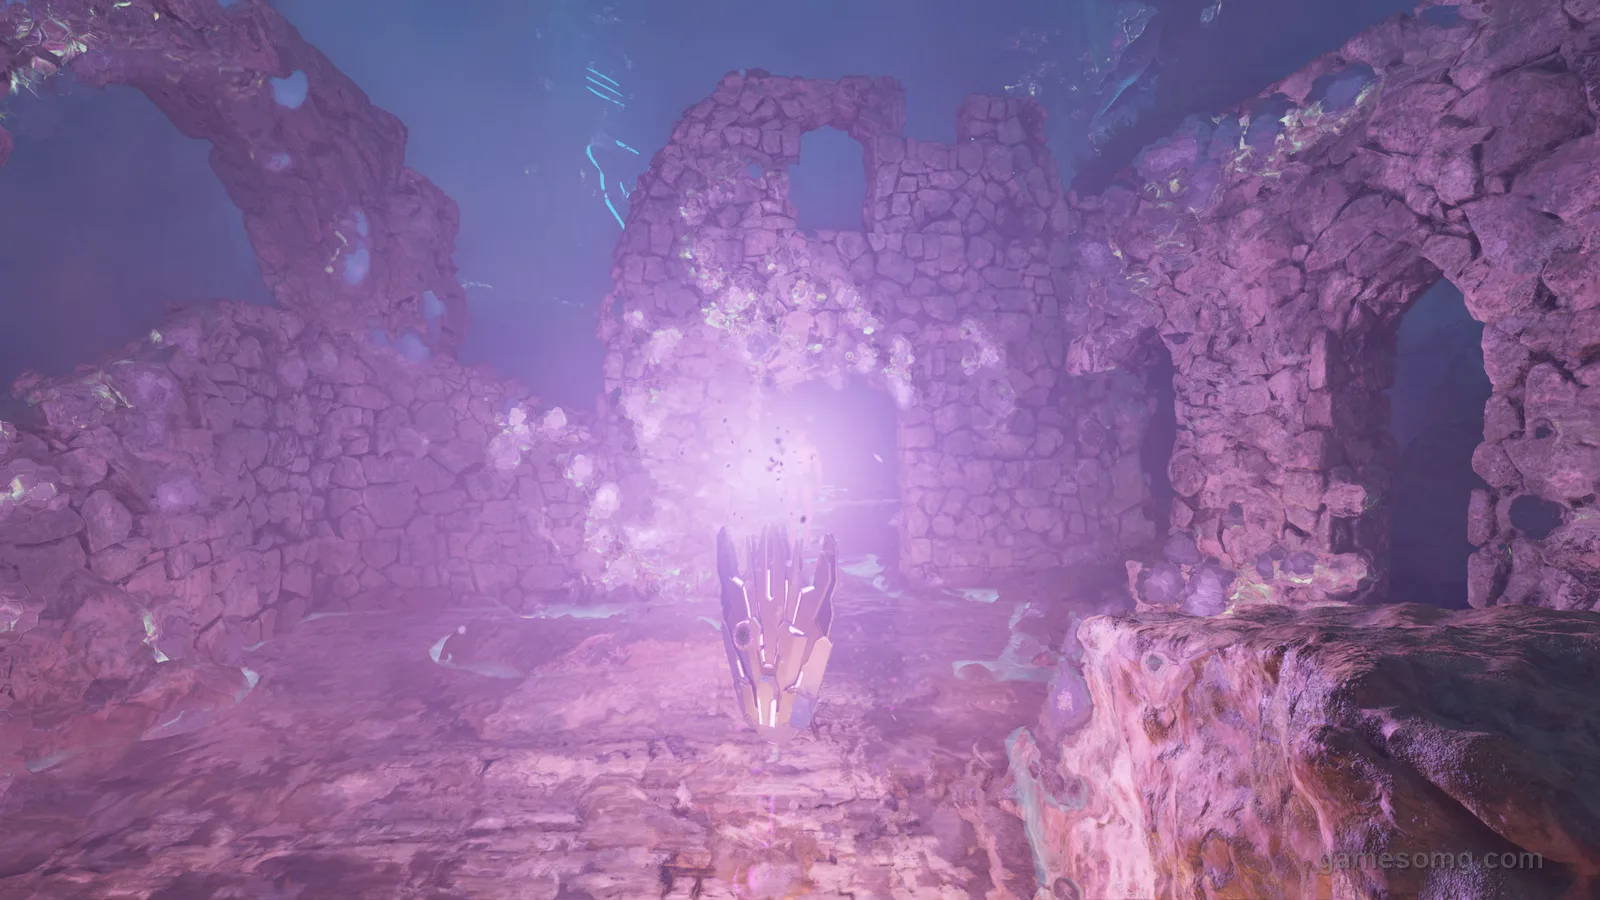
Inside the North East Cave — the Artifact of the Devourer, floating in a set of sunken ruins. One of 11 artifact caves on The Island.
22
Total caves on The Island
10
Artifact caves (+ Tek Cave)
12
Underwater resource caves
3
Island bosses to summon
All artifact caves
Island Artifact Cave Map & Coordinates
All 11 progression and ascension caves on The Island, ranked from easiest to hardest. Click a cave for its full breakdown — coords, hazards, gear, and the route.
Which artifacts you need before stepping into each boss arena. Get all three (or all 11 if you're going for full ascension).
🕷️ Broodmother
Clever— Central Cave
Massive— Lava Cave
Cunning— Caverns of Lost Hope
Brute— Caverns of Lost Faith
🦍 Megapithecus
Hunter— Lower South Cave
Pack— Upper South Cave
Devourer— North East Cave
🐉 Dragon
Skylord— North West Cave
Immune— Swamp Cave
Strong— Snow Cave
⚙️
Running your own Island server?
Bump up harvest, taming, and XP rates so cave runs are less punishing — our free Game.ini and GameUserSettings generators let you tune every multiplier without hand-editing the files.
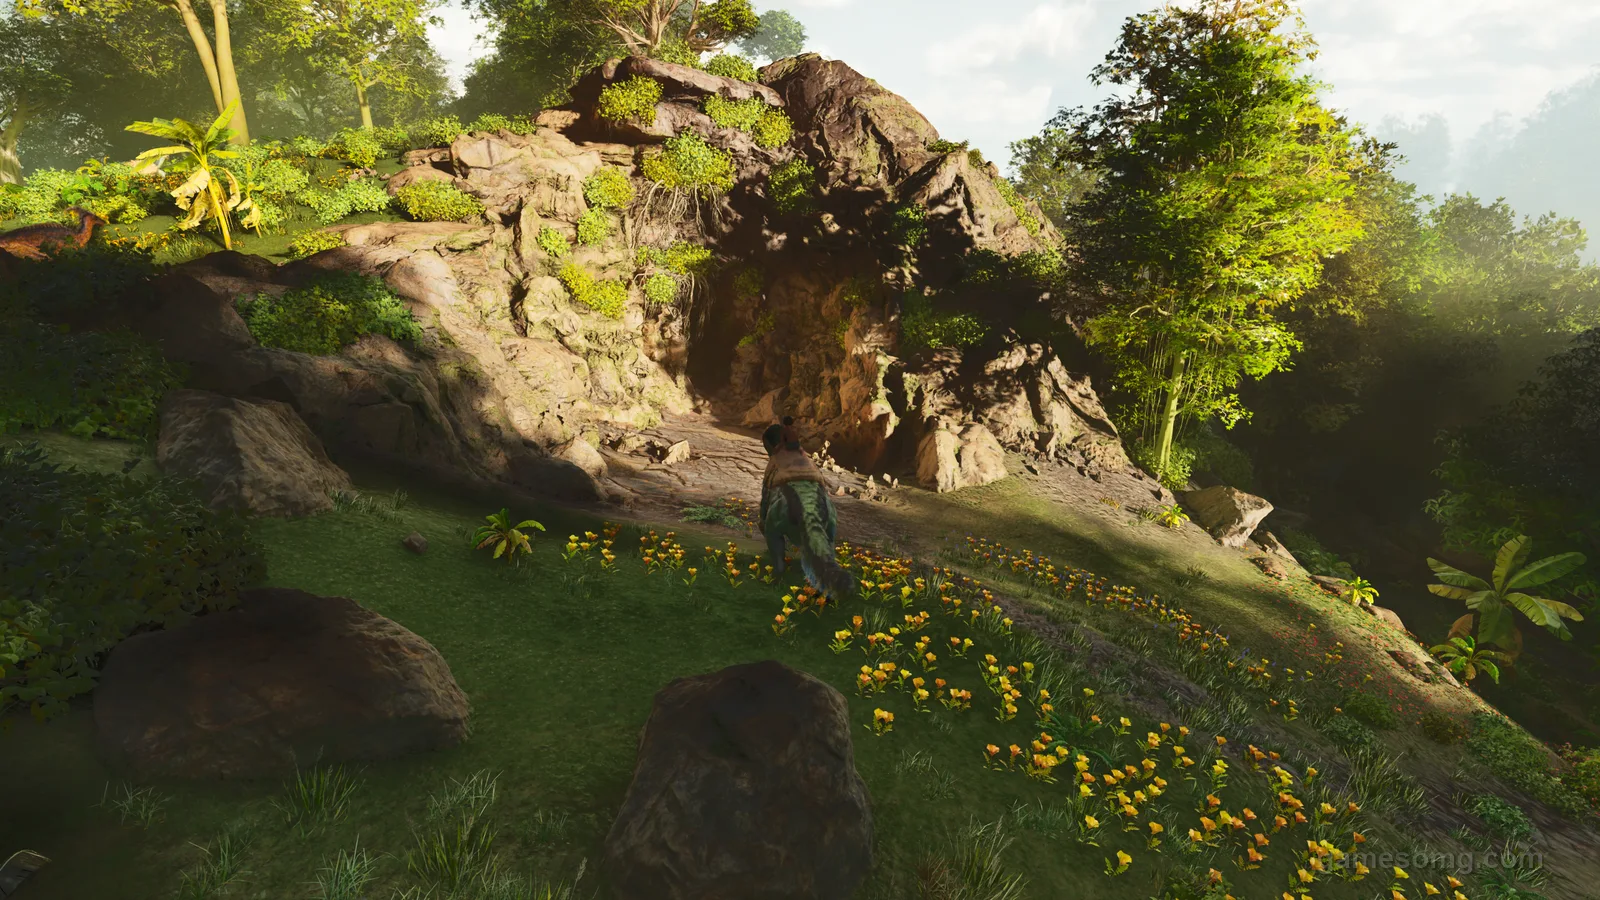
The entrance at 40.2 / 46.6, tucked into a rock outcrop near the volcano.The Artifact of the Clever, down by the pool at the back of the cave.
Located near the volcano in the dead center of the map, the Central Cave is mostly straightforward — common cave critters with the one big exception: Megalosaurus can spawn inside, and if it does, it's a real fight. The good news is Megalosaurus is only active at night, so daytime runs are dramatically safer.
The artifact is at the back of the cave, so plan to clear most of the enemy spawns to get there. Mobs spawn in large groups here, so pick a mount with serious HP and bring whistle commands you've drilled.
Pro tip: Time your run for daylight in-game. Megalosaurus only attacks at night, and the difference between a 5-minute run and a 25-minute fight is just the clock.
North East Cave Map & Location
Artifact of the Devourer · Megapithecus boss
Lat 8.9, Lon 91.3
DifficultyEasy
Best MountThylacoleo (bred inside)
HazardsMegalania on walls/ceilings, large drop to artifact, Carnivore Island outside
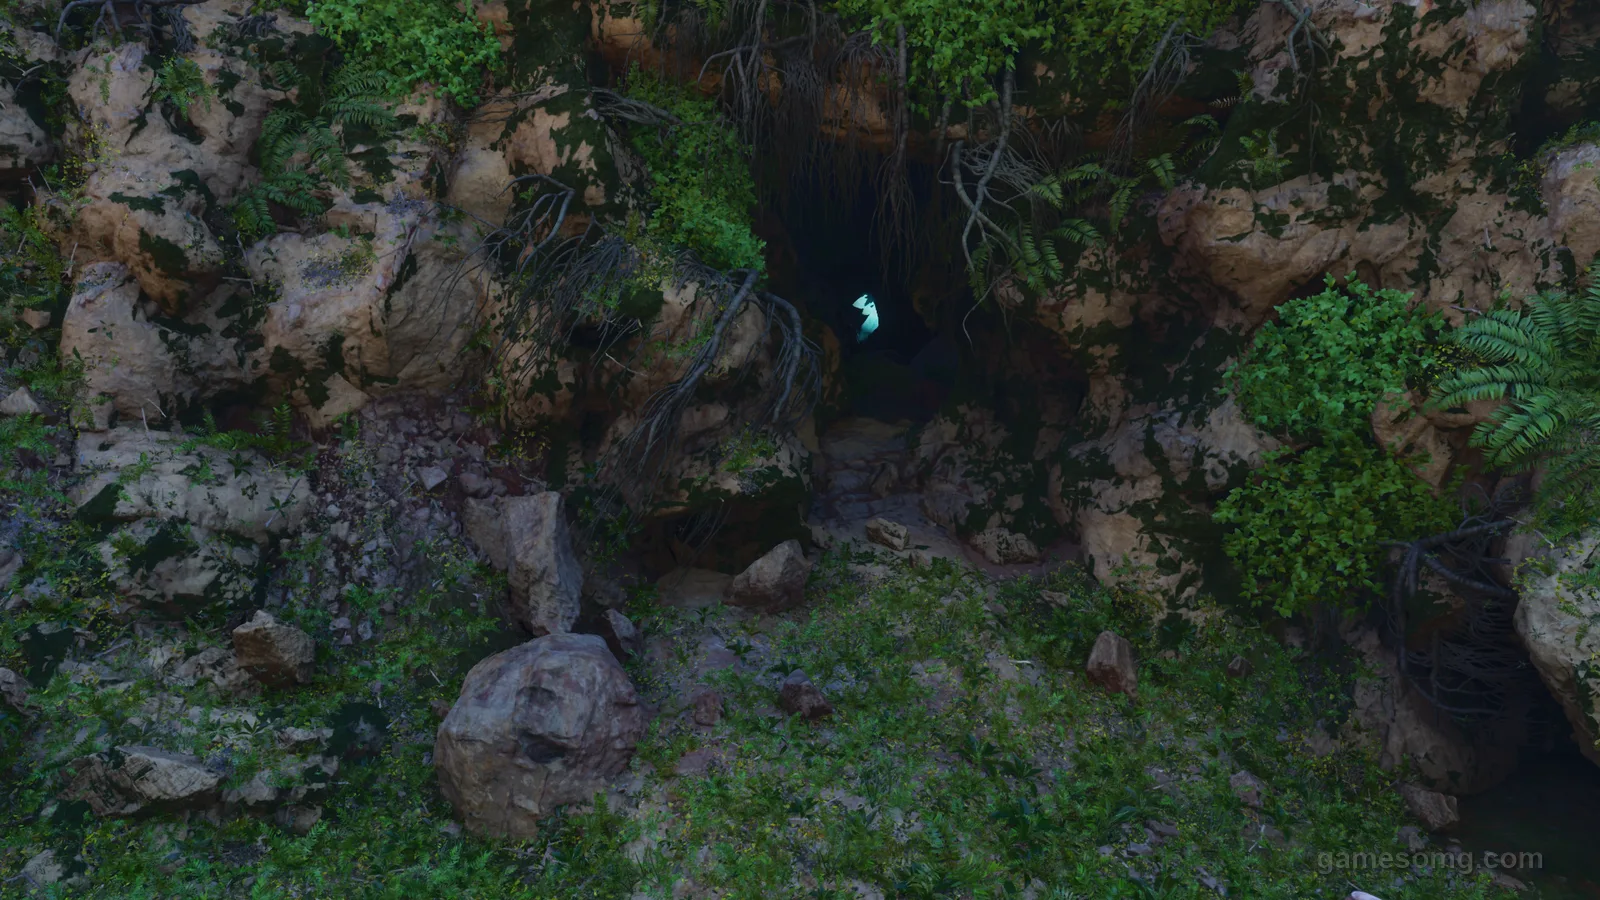
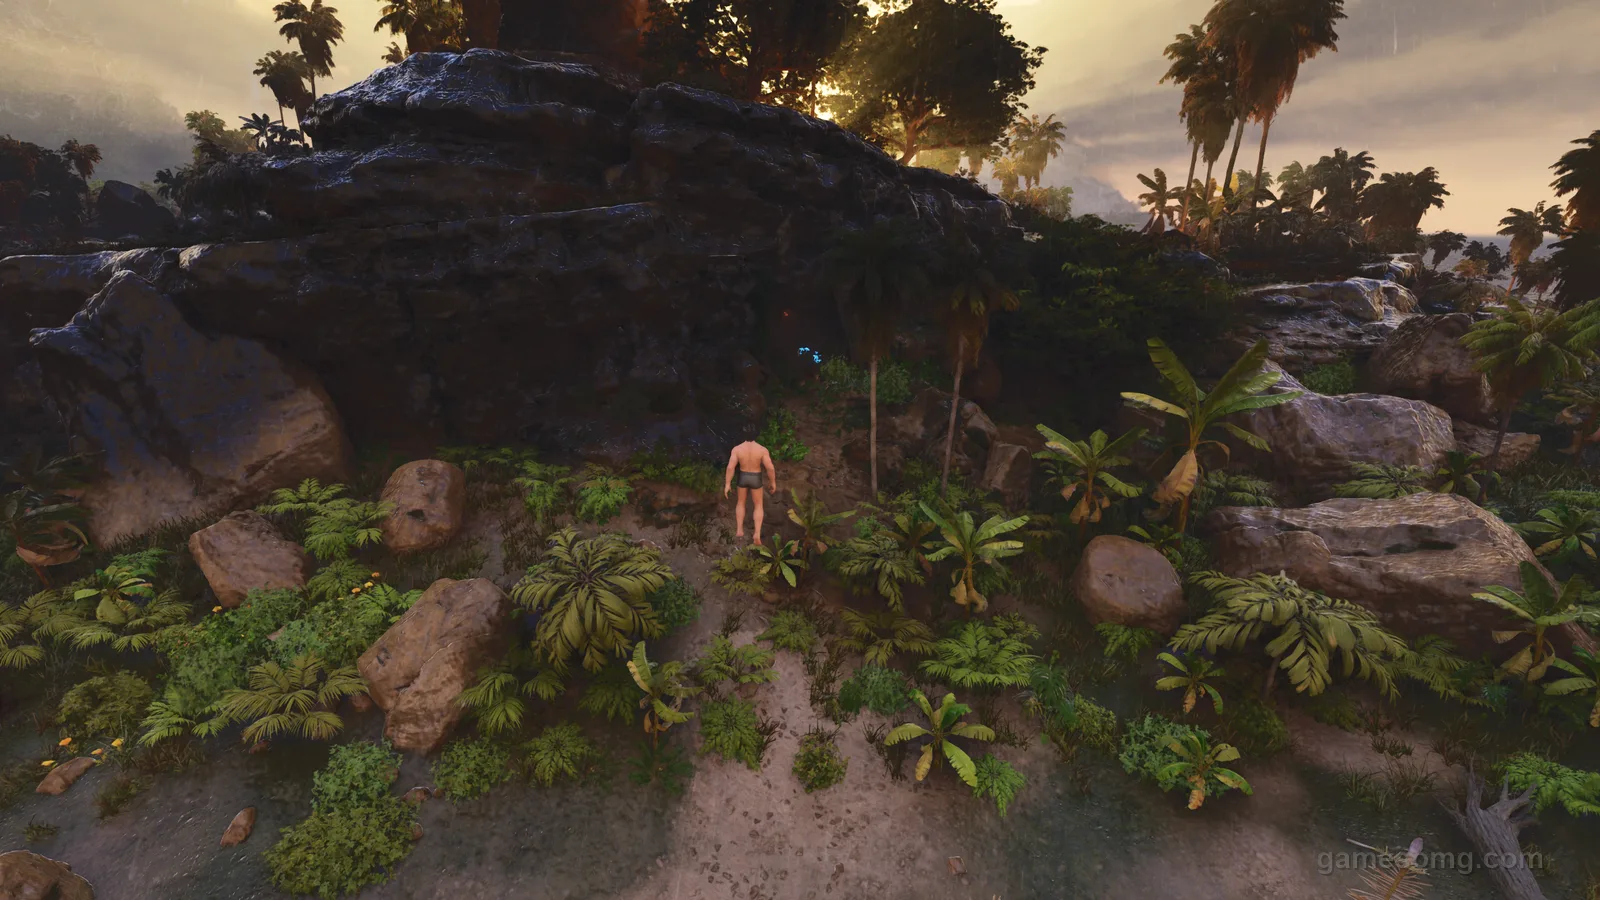
The entrance at 8.9 / 91.3 — the one calm corner of Carnivore Island.The Artifact of the Devourer, in the sunken ruins past the vertical drop.
The cave sits on the dangerous Carnivore Island in the north-east corner of the map — getting there is harder than the cave itself. Inside, the layout is simple but features a big vertical drop down to the artifact. Megalania spawn on walls and ceilings here and can inflict Mega Rabies, so keep antidotes ready.
The fast strategy: breed a Thylacoleo inside the cave and mount-jump to the bottom. This skips most of the climb but aggros everything on the way down, so make sure your Thyla has decent levels in health and damage.
Pro tip: The cave is on Carnivore Island, which is overrun with Rexes, Carnos, and Allos. A flyer to drop you near the entrance is way safer than walking the coast.
Lava Cave Map & Location
Artifact of the Massive · Broodmother boss
Lat 74.1, Lon 92.2
DifficultyMedium
Best MountBaryonyx, Thylacoleo, Direwolf
HazardsHeat, lava pits, jump puzzles, common cave critters
GearCalien Soup or Ghillie Armor, grappling hooks, crossbow, parachute
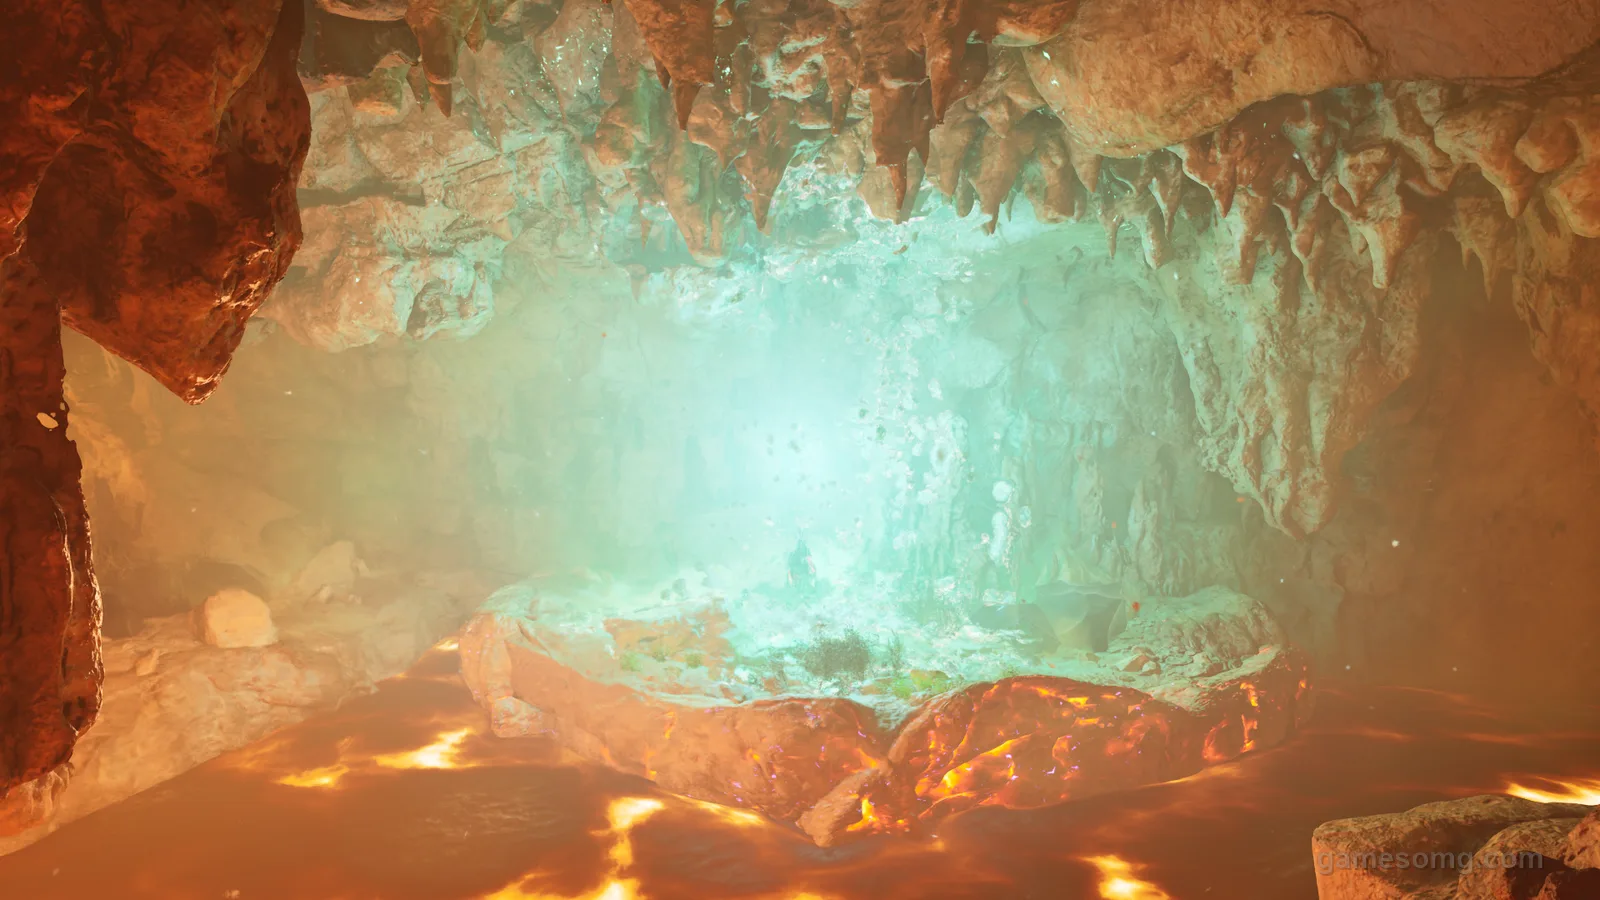
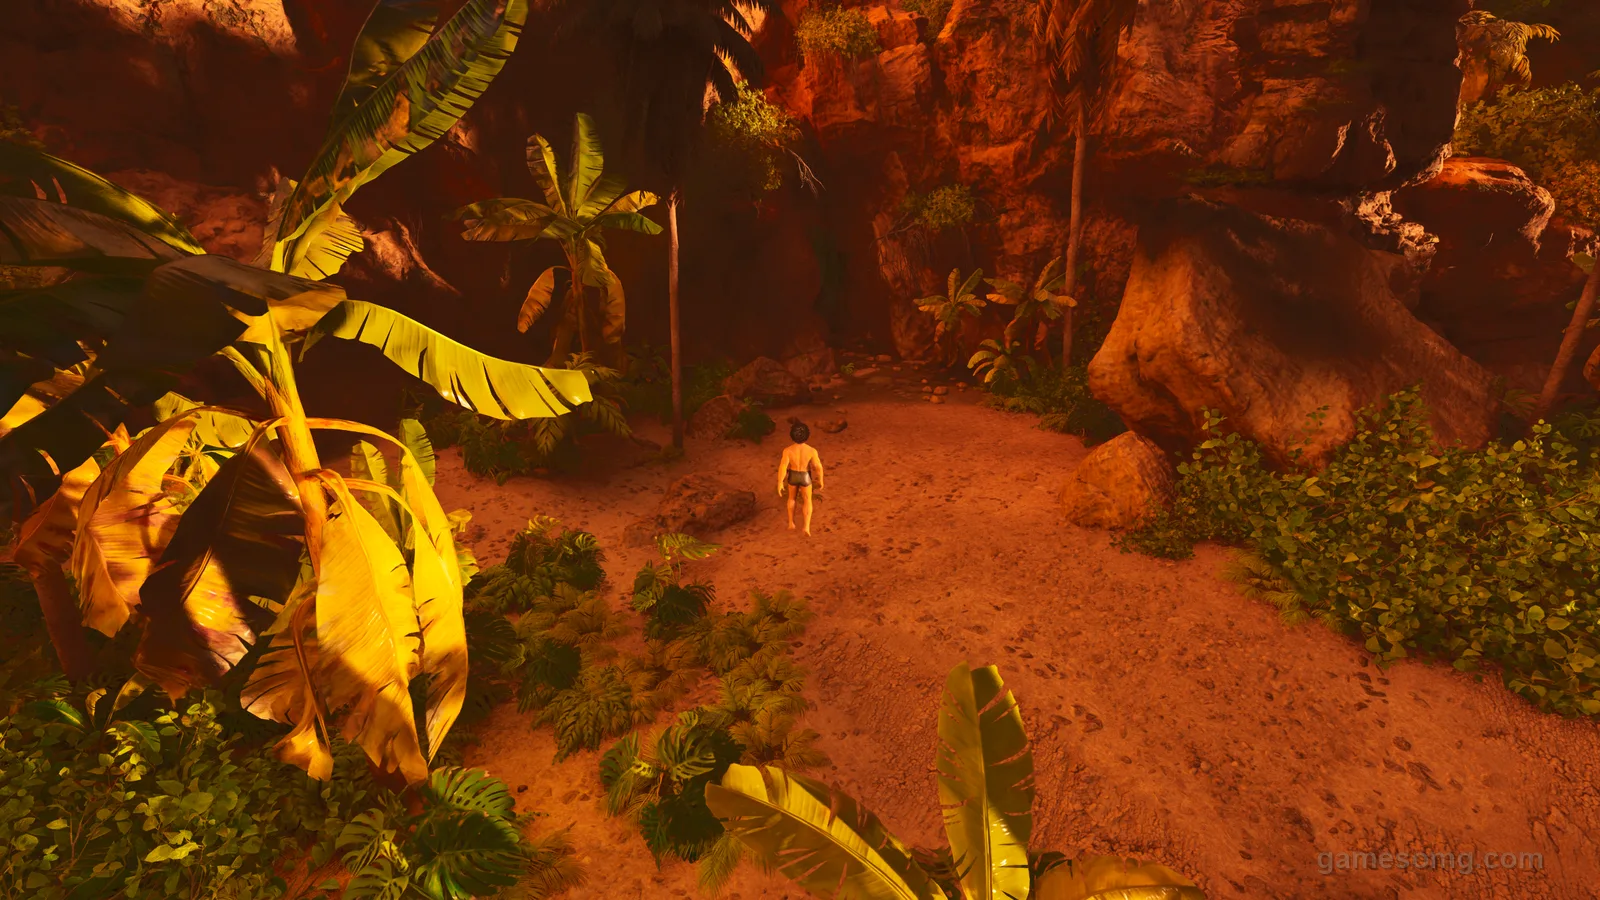
The entrance at 74.1 / 92.2, at the back of a red-rock canyon.The artifact island — that lava moat is exactly why you pack grappling hooks.
The Lava Cave is in the south-east of The Island and is mostly a navigation puzzle. The cave is hot enough that you'll need heat protection (Calien Soup is the cleanest fix; full Ghillie armor also works), and several gaps in the floor have to be jumped. Miss a big jump and you drop into lava — that's almost always a wipe for both you and your mount.
The enemies inside are easy compared to most caves — your real opponent is the layout. The Artifact of the Massive sits on a tiny island surrounded by lava, completely separated from the path.
Pro tip: Don't try to jump to the artifact island. Stand on the closest ledge, fire a grappling hook + crossbow combo to a pillar on the artifact island, and grapple across. Costs zero attempts, zero stress.
Upper South Cave Map & Location
Artifact of the Pack · Megapithecus boss
Lat 71.3, Lon 57.2
DifficultyMedium
Best MountWhatever fits — no specific mount is required. We ran it with a Thylacoleo just to show a mid-size ground mount clears the passages, but on foot works fine too. A Baryonyx only helps if you're diving for the loot crates.
HazardsTitanoboa, Onyc, Pulmonoscorpius, Arthropluera, Araneo, wild Thylacoleo; Piranhas in the flooded galleries
GearLesser Antidotes, Stimulants (torpor), ranged weapon. Add a grappling hook and Lazarus Chowder only if you're diving for the crates.
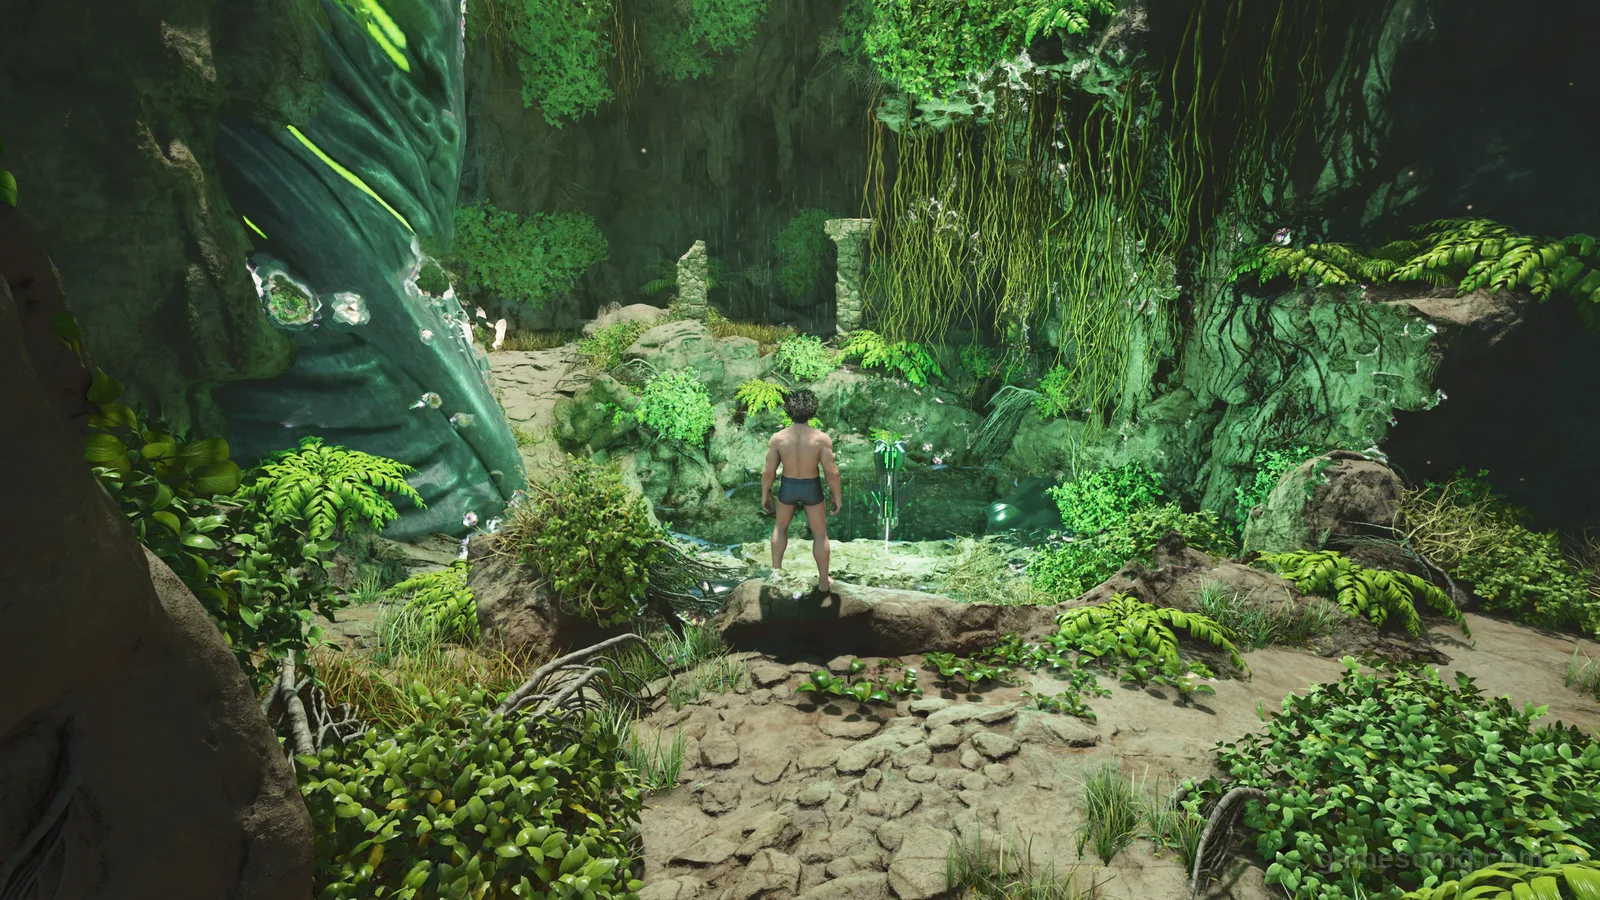
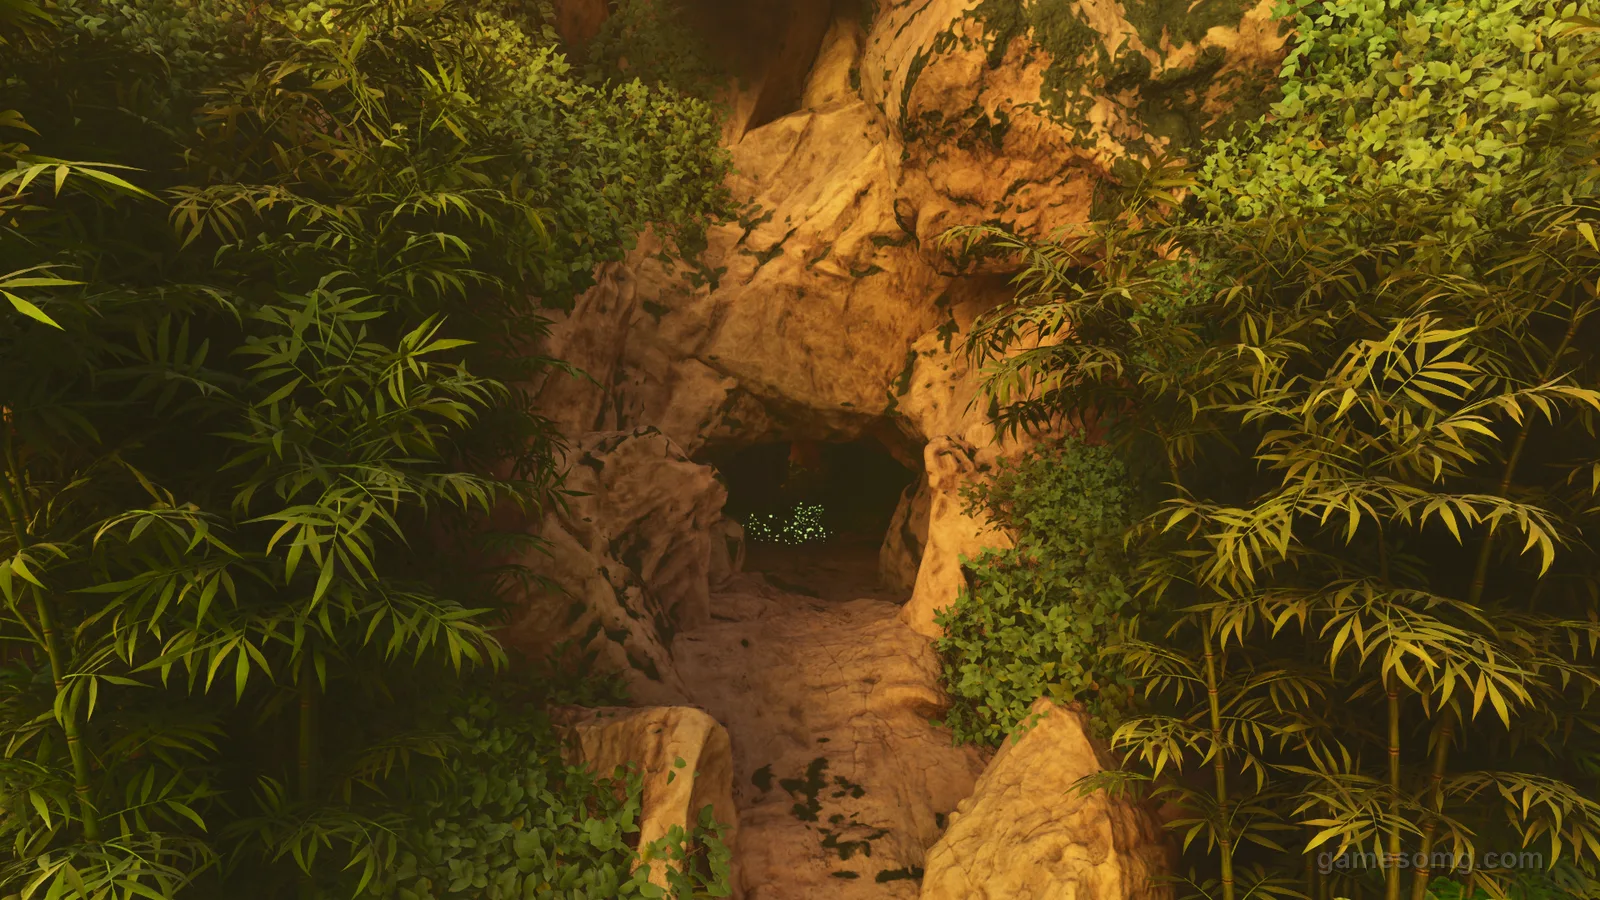
The entrance at 71.3 / 57.2, ringed by bamboo — Titanoboa country inside.The Artifact of the Pack at 76.8 / 62.8 — reachable bone-dry, no swimming required.
The Upper South Cave has a split personality — dry snake-country corridors up top, flooded Piranha galleries below — and for years the water talk scared people off the artifact entirely. So we ran it to settle it: the Artifact of the Pack is reachable bone-dry. You never have to touch the water unless you specifically want the loot crates. The dry corridors are held by Titanoboas, Onycs, Pulmonoscorpius, Arthropluera, and the odd wild Thylacoleo — a ranged weapon and a stack of antidotes clear the path.
Dry route to the Artifact of the Pack — verified first-hand
Enter at 71.3 / 57.2. Bring any mid-size mount if you want to see what fits, or just go on foot — nothing in here needs a specific one.
At the first fork, going right dead-ends in a round room. Take the other branch and keep heading north-east through the lava-lit chambers.
Work north-east through the glowing-mushroom passages. The foliage hides the openings, so follow the ground, not your eyes — the through-line keeps climbing north-east.
At the ledge around 74.8 / 60.6, stay on the path — don't over-jump it. Overshoot and you drop straight into a cold Piranha pool and have to climb back out. Keep to the ledge and you stay dry.
Artifact of the Pack sits at 76.8 / 62.8 — glowing on its pedestal under a light shaft. Seize it. A hidden totem statue sits right beside it, if you want the easter egg.
Getting out: don't fight the maze on the way back — teleport or return-to-bed home. Even a clean run gets turned around leaving this place.
Pro tip: The whole "Upper South is underwater" reputation is about the optional crate galleries, not the artifact. Keep to the dry route above and the only thing that'll get you wet is over-sending that one ledge jump into the Piranhas.
GearGas Mask or SCUBA tank (mandatory), Bug Repellent, grappling hook, ranged weapon
The Swamp Cave is wall-to-wall insects in a gas-filled tube, sitting in the southern swamp biome. A Gas Mask or SCUBA tank is non-negotiable — the poison gas inside ticks down your health constantly without one. The entrance is also extremely narrow, which limits the mounts that fit. Baryonyx can squeeze in, and if you have a Megatherium bred inside the cave it absolutely shreds the insect spawns because of its damage bonus against bugs.
Alternative strategy: if you don't have a mount ready, pop Bug Repellent and grapple through the cave on foot. Insects will ignore you, but stay out of physical contact — touching them still triggers aggro.
Pro tip: A Megatherium bred inside the Swamp Cave is one of the strongest cave-clearing setups in the game. The insect-killer bonus is brutal, and its size lets it tank hits the Baryonyx can't.
Caverns of Lost Faith Map & Location
Artifact of the Brute · Broodmother (optional / alt)
The first of the two fully-underwater artifact caves, off the west coast of The Island. The real threat inside isn't visibility loss (though that's annoying) — it's the Electrophorus and Cnidaria that lurk around tight bends and stun you and your mount mid-fight. A stun underwater means drowning if you're not on the right mount.
The Basilosaurus is the dream pick here — it's immune to stuns, soaks damage, and a high-level one with a good saddle has zero trouble with Cnidaria packs. Since ASA added a cooldown on the stun debuff, Megalodons are also viable — a high-level Meg can usually survive the initial five-second stun and counter-attack.
Pro tip: Bring a backup mount. If your primary gets stunned at the wrong moment in the narrow bends, you can spawn the backup from a cryopod outside and double up.
North West Cave Map & Location (The Crawl Cave)
Artifact of the Skylord · Dragon boss
Lat 14.1, Lon 13.9
DifficultyHard
Best MountNone — too tight. Otter as shoulder pet for insulation.
HazardsNo mounts fit (crawl-only), extreme cold, instant-death pits, Onyc, Araneos
Known in the community as The Crawl Cave, the North West Cave is unique on The Island for one reason: you can't bring a mount in. The corridors are too tight. You're facing every cave enemy on foot, in extreme cold, with multiple instant-death pits that will end the run if you mis-step.
Layer up with the best fur armor you can craft and either eat Fria Curry or carry an Otter on your shoulder for insulation (Otters give a permanent insulation buff and can hold an artifact for safekeeping while you fight). For combat, a sword and shield is surprisingly effective for the tight quarters, but if you have decent armor a Pump-Action Shotgun shreds the cave critters in one or two shots.
Pro tip: Drop a Sleeping Bag near the entrance before you go in. If you wipe deep in the cave, you'll respawn close enough to recover your gear before despawn timers run out.
GearFull SCUBA gear, high-tier saddles on all mounts, advanced rifle, medical brews
The second underwater artifact cave, located far off the south-east coast. This is one of the hardest caves in all of ARK: Survival Ascended. Alpha Megalodons often spawn here, and their aura buffs nearby creatures' defense and damage — meaning even low-level Mantas and Piranhas become legitimate threats when an Alpha is nearby.
The winning strategy is a Basilosaurus mount with several Megalodons trailing as an attack pack, all wearing high-tier saddles. The Basilo soaks Electrophorus stuns and big-hit damage; the Megalodon pack handles the swarms. Going in solo on a single mount is technically possible but you'll burn through medical brews fast.
Pro tip: Bring the Megalodons to the cave entrance in cryopods, then deploy them just before entering. Saves you the long swim out with a pack that won't keep up with your Basilo's speed.
Snow Cave Map & Location
Artifact of the Strong · Dragon boss
Lat 26.0, Lon 29.0
DifficultyExtremely Hard · Hardest on The Island
Best MountYutyrannus + Direwolf pack
HazardsWild Polar Bears, Direwolves, Yetis, Purlovia (dismount), freezing water, levels up to 340
GearTop-tier Fur Armor, Fria Curry, Otter shoulder pet, advanced rifles, plenty of medical brews
The Snow Cave isn't just hard — it's the hardest cave on The Island, by a wide margin. Untameable Polar Bears, Direwolves, Yetis, and Purlovias all spawn here, and they spawn at very high levels (up to 340 on default settings). The cave is freezing cold; water inside the cave actively damages anything that enters it. And Purlovia ambush you from underground, dismounting you mid-fight — a death sentence in a cave full of high-level predators.
The standard winning combo is a high-level Yutyrannus accompanied by a pack of Direwolves. The Yuty's Fear Roar reduces enemy damage output, and its Courage Roar buffs your wolf pack. Whistle the wolves forward to trigger Purlovia ambushes safely (so they pop on the wolves, not you), then mop up. Layer Fur Armor, eat Fria Curry, and carry an Otter for the extra insulation.
Pro tip: Save the Snow Cave for last. The other Dragon artifacts (Skylord, Immune) are easier and let you skip the Snow Cave if you're running boss summons rather than completionist runs. But the artifact itself is needed for full ascension — eventually you'll be back here.
Tek Cave Map & Location
Artifact of the Ascension · Leads to the Overseer endgame fight
Lat 43.0, Lon 39.0
DifficultyEndgame
Best MountFull Tek loadout — Rex/Giga/Yuty teams
HazardsExtreme heat, boss-tier enemies (Allo, Alpha Carno, Alpha Raptor, Giga), no exit once started
GearFull Tek armor or top-tier flak, advanced weapons, medical brews, ascendant saddles
The Tek Cave isn't a regular cave — it's the final dungeon of The Island that leads to the Overseer boss fight and triggers Ascension. You can't enter until you've beaten all three Island bosses (Broodmother, Megapithecus, Dragon) at high enough difficulty. The cave is brutally hot, packed with boss-tier creatures including Gigas, and once you start the timer, there's no leaving until it's done.
Treat the Tek Cave like a raid, not a cave run. Bring a full tribe (or a small group of high-level pals), top-tier breeding stock, ascendant gear, and a clear plan. The reward is the Artifact of the Ascension and a path into the Overseer fight that ends the storyline.
Pro tip: If you're solo-ing it, breed and imprint a small army of high-level Rexes (or one mega-Giga) ahead of time. You won't have time to recover between encounters once the run starts.
Underwater farming
Island Resource Caves (All 12 Underwater)
Every resource cave on The Island is underwater. They're hollow rock formations on the ocean floor, marked from the surface by a thin trail of bubbles (or a grey rectangular shape if your graphics settings are low). They contain dense clusters of Silica Pearls and Oil — useful for early-game farming and tek crafting.
Resource Cave
Region
Size
Coords (Lat, Lon)
Primary Resources
Resource Cave 1
North West coast
Small
15.9, 10.4
Silica Pearls, Oil
Resource Cave 2
North West coast
Small
10.1, 12.7
Silica Pearls, Obsidian
Resource Cave 3
West coast
Medium
10.5, 39.8
Silica Pearls, Oil
Resource Cave 4
North East coast
Large
8.0, 90.0
Silica Pearls, Crystal clusters
Resource Cave 5
East coast (north)
Medium
36.1, 91.0
Silica Pearls, Oil, Obsidian, Crystal
Resource Cave 6
North coast
Medium
50.0, 11.0
Silica Pearls, Crystal
Resource Cave 7
East coast
Large
52.8, 91.9
Silica Pearls, Oil, dense spawns
Resource Cave 8
South West coast
Small
83.2, 10.0
Silica Pearls, Oil, Obsidian
Resource Cave 9
South coast (deep)
Large
90.8, 71.4
Silica Pearls, rare drops
Resource Cave 10
South coast
Medium
90.0, 36.7
Silica Pearls, Oil
Resource Cave 11
South East coast
Large
90.7, 71.3
Silica Pearls, Obsidian, Crystal
Resource Cave 12
South East coast
Small
87.0, 90.3
Silica Pearls, Oil
Important: these are NOT named caves in-game. The ARK Official Community Wiki and most other sources refer to them by number. Resource caves are categorized as 4 Small, 4 Medium, and 4 Large by interior size. The entrances spawn pairs of Plesiosaurs and the occasional Mosasaurus on guard duty, so plan for a fight before you even reach the door. Bring SCUBA gear, Lazarus Chowder for oxygen, and a Megachelon or Basilosaurus for safety.
Before you go
Survival Tactics for Island Caves
Fur Armor + Fria Curry — non-negotiable in the North West (Crawl) Cave and the Snow Cave. The cold itself can kill you.
Gas Mask or SCUBA tank — required to survive the Swamp Cave's poison gas. SCUBA also works for all three underwater caves.
Lesser Antidotes — every cave with Onyc or Megalania can give you Mega Rabies. Pack 5-10 antidotes minimum.
Tames like Baryonyx, Thylacoleo, Megatherium — these three cover most Island caves. Baryonyx for water + tight spots, Thyla for vertical traversal, Megatherium for insect caves.
Sleeping bags near entrances — drop one before every cave run. If you wipe deep inside, you'll respawn close enough to recover your gear before it despawns.
Cryopods for backup tames — bring a second mount in your pocket. If your primary dies mid-run, deploy the backup and keep going.
Adjust for server rules — some servers disable flyers, change cryopod cooldowns, or scale dino levels. Check your server settings before you commit.
Drop torches as breadcrumbs — several caves branch in confusing ways. Lit torches along your path make extraction obvious even mid-fight.
FAQ
Common Questions about Island Caves
How many caves are on The Island in ARK: Survival Ascended?
The Island has 22 caves total: 10 progression caves (each containing an artifact needed to summon a boss), the Tek Cave (containing the Artifact of the Ascension and leading to the Overseer fight), and 12 underwater resource caves filled with Silica Pearls, Oil, and other materials.
What is the easiest cave on The Island?
The Lower South Cave (Artifact of the Hunter, coords 85.3, 54.2) is the easiest and most often the first cave new survivors clear. A Baryonyx with basic Hide Armor and a couple of Lesser Antidotes is usually enough.
What is the hardest cave on The Island?
The Snow Cave (Artifact of the Strong, coords 26, 29) is the hardest by a wide margin. Wild Polar Bears, Direwolves, Yetis, and Purlovias spawn at levels up to 340 on default settings, and the freezing biome damages anything that enters water. Bring a Yutyrannus + Direwolf pack and your best fur loadout.
Which Island caves are underwater?
Two progression caves are fully underwater — Caverns of Lost Faith (Brute) and Caverns of Lost Hope (Cunning) — along with all 12 resource caves; SCUBA gear and an aquatic mount (Basilosaurus, Megalodon, or Baryonyx) are essential for those. Upper South Cave (Pack) is only partly flooded — we ran it and the Artifact of the Pack is reachable completely dry, so the water there is optional (loot crates only).
Which artifacts do I need for each Island boss?
Broodmother needs Clever, Massive, and Cunning. Megapithecus needs Hunter, Pack, and Devourer. Dragon needs Skylord, Immune, and Strong. You'll also pick up the Artifact of the Brute (Caverns of Lost Faith) along the way — it's useful for boss summons on other maps. See the Artifact-to-Boss Reference above for a full breakdown.
Can you do Island caves solo on ASA?
Most artifact caves are solo-clearable with proper preparation. The Easy and Medium-rated caves (Lower South, Central, North East, Lava, Upper South) are reasonable solo targets even for mid-level players. The Hard caves (Swamp, Lost Faith, North West) are doable solo but punishing and require gear. The Snow Cave and Caverns of Lost Hope are technically solo-able but most players bring a tribe or come back significantly over-leveled.
Do I need a flyer for Island caves?
Flyers can't enter any artifact cave on The Island — the entrances are sized to block them. You'll need ground mounts (Baryonyx, Thylacoleo, Megatherium, Yutyrannus, Direwolf) or aquatic mounts (Basilosaurus, Megalodon) depending on the cave. A flyer is useful for getting to the cave entrance, especially for caves on Carnivore Island (North East) and the western coast, but for the actual cave interior you're on the ground.
What's the best dino for cave runs on The Island?
The Baryonyx is the most versatile single mount — fast on land and in water, fits through narrow openings, has a stun on its tail spin, and effectively infinite stamina underwater. For specific caves, the Thylacoleo excels at vertical caves (North East, North West-adjacent), the Megatherium destroys insect caves (Swamp), the Yutyrannus + Direwolf pack handles the Snow Cave, and the Basilosaurus dominates underwater caves.
More on The Island
Hunting Explorer Notes Too?
The Island has 90 explorer notes — every location mapped, plus the fastest route to collect them all (with a tap-to-check-off tracker).
Bump harvest, taming, and stat multipliers in your Game.ini and GameUserSettings.ini with our free generators. No coding, no wiki-hopping. Copy, paste, play.
 Lower South Cave
 North East Cave
 Lava Cave
 Upper South Cave